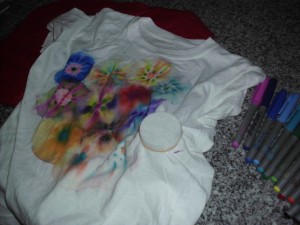
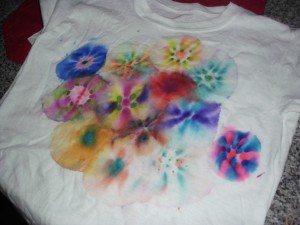
The other day, my daughter came home from a day camp with the coolest shirt. Excited to teach us her new-found way of tye-dying, she quickly taught her brothers how to make one. They got to work and had a great time making shirts together. It was simple, creative and lots of fun!
Supplies Needed:
- plain t-shirt (we used white, but I'm sure you could use any color)
- sharpie fine-tipped markers in multiple colors
- rubbing alcohol
- dropper or squeeze bottle
- rubberband
- baby food jar
- plastic placemat or cardboard
- Dryer
Step 1: Place cardboard or placemat inside the t-shirt, separating the front from the back. This will stop color from bleeding through to other side.
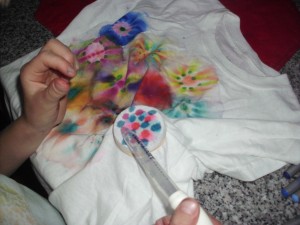
Step 2: Place baby food jar inside the t-shirt. Tighten the t-shirt over the opening and secure with a rubberband.
Step 3: Using the sharpie markers, decorate the space over the jar. Experiment and have fun with this. Make dots, squiggles, lines, etc.
Step 4: Using a dropper or squeeze bottle, drop a few drops of rubbing alcohol over the design. You will see your design spread as it gets wet with the rubbing alcohol. You know you've used enough when the design spreads.
Step 5: Remove the rubberband and the jar.
Step 6: Start the process over. Fill the shirt if you'd like, or just put random designs around the shirt. The creativity is endless.
Step 7: When your shirt is completely finished, throw it in the dryer for 20 minutes.
Step 8: Wear your shirt with pride! Once it has been thoroughly heat dried, it is safe to wear and wash as normal.


That is such a fun and simple summer craft idea!! 🙂
Emily
That is really cool! What did they boys’ shirts turn out like? Masculine enough?