Kids LOVE colors. And while not all kids will eat the Rainbow of colors advised by their docs (red/oranges/greens on every plate…), they will LOVE this rainbow cake!
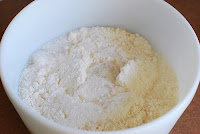
 First, make 2 batches of white cake batter. 2 Cake Mixes work great, or your favorite recipe you have on hand. The white cake makes the colors stand out more than a yellow cake would. (did I have to say that?)
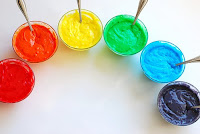
Divide batter evenly into 6 bowls (about 1 1/4 cup each).
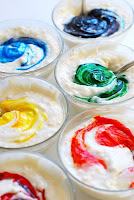
Add food coloring…the Gel colors are so much more vibrant than traditional liquid drops.
Grease and Flour 2 round cake pans.
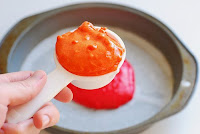
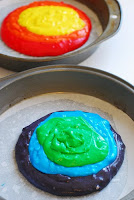
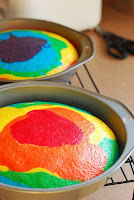
Add the colors in rainbow sequence. To start, scoop about 2/3 of the Red (about 1 cup–if you use more, the top color will dominate, as did my RED in the top layer), and drop it in the center of the first pan. Do the same with Orange, then Yellow, trying to keep cocentric globs of yumminess in the center of the pan.
After your first 3 colors, start the next pan in opposite Rainbow Order: Purple, then Blue, then Green.
Drop the remaining colors in order on your colorful globs.
Bake as instructed, checking with a toothpick at the end. Because of the density of the cake, it will take longer than called for, but not too much (5-10 mintes). Also, bake with a cookie sheet below the cakes in case they spill over a little.
Allow cake to cool completely, then remove from pans.
Now do your dishes!
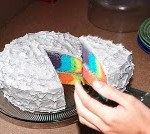
I frosted it with a whipped cream frosting. Beat 2 cups cream, 6 Tbs sugar, 2 tsp vanilla. Stir in1 large package instant Vanilla Pudding.
Decorate with sunshine, and voila! Edible Happiness!
These make great cupcakes, too!
PS. I got most of these pics from the original post because, let’s be honest, she’s a better tutorial-photographer than I am, and because she taught me everything I know about Rainbow Cakes.

