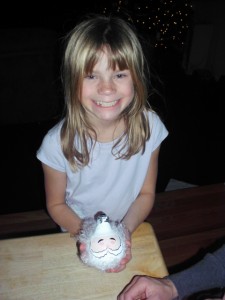
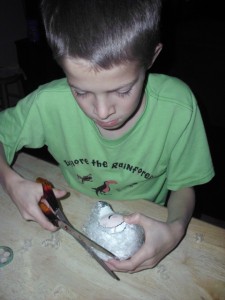
This year our kids are getting creative once again and making personalized gifts for their teachers. This year, we're going with homemade Santa ornaments and Candy Trains. Check back next week for the Candy Trains. For now, here are the ornaments.
Supplies Needed:
- 1 Vanity lightbulb (a regular sized one will work as well)
- Foam paint brushes
- White acrylic paint
- Peach/flesh colored acrylic paint
- Pink acrylic paint or pink sharpie
- black sharpie
- White doll hair (easily found at any craft store) or cotton balls
- Red felt
- 1 White pom pom
- 1 White pipe cleaner
- A Hot Glue Gun or craft glue
- Sewing Machine or red thread and needle
1. Allow the kids to paint the bulbs completely white. It doesn't have to be perfect. And, since the top of the bulb that screws into a socket will be covered, it can serve as the perfect handle. We also found that putting the bulb in an egg carton worked well to hold it still while the kids painted. Or, just cut a hole in a cardboard box and stick the bulb upside down in the hole. This part I left entirely up to the kids.
2. Allow the paint to dry for an hour before putting on a second coat. If the paint lifts on this step, the paint is not dry enough yet. Again, I left this to the kids.
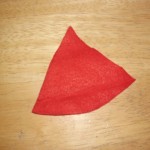
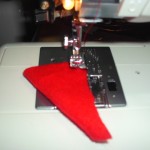
3. While waiting for the paint to dry, cut a piece of red felt into an equilateral triangle where each side of the triangle measures 4 inches. You'll need one triangle for each ornament you are making. Fold the triangle in half and sew 1/4 inch seam along one side. Turn the triangle inside out. This is the hat. Set aside for later.
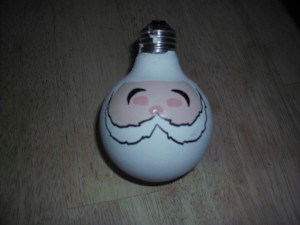
4. When the white paint is dry, paint the face using the peach paint for the skin, the pink paint for rosy cheeks and the black sharpie for eyes and a mustache. You can get as creative as you want in this step. Here's ours just as an example. Googly eyes could be fun here, too.
5. Using a hot glue gun, apply glue from the top of the bulb all the way down the side of the face and back up around to the top creating a "beard". Press either white doll hair or cotton balls which have been pulled and stretched onto the glue.
6. If using doll hair, feel free to give Santa a little trim if he has stray hairs. This is the best part. I found that sometimes my beard looked a bit funky, but with a little trim, it was easy to cover my mistakes. Depending on their age, I let the kids take care of the trim.
7. Apply hot glue to the socket part of the bulb. Quickly slip the Red felt triangle into place over the socket, pulling the "hat" down as low as possible.
8. Place glue about half way down the hat and fold the hat over. Press and hold until set.
9. Place a dab of glue on the end of the hat and attach a white pom pom. Hold until set.
10. Place glue around the rim of the hat. Attach pipe cleaner all the way around. Hold until set.
11. Use red thread to sew a loop through the hat to serve as a hanger for the Christmas tree.
12. If desired, add a Christmas greeting and your name on the back with a red sharpie. We added: Wishing you a Merry 2011 Christmas! Love, ________"
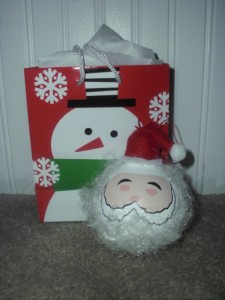
13. Gift wrap in a small bag easily found at dollar stores.
14. Finished Product:
The kids will love giving something they've made themselves. I'm hoping the teachers will love and cherish them. As you can see, it does take some of your help and artistic touches, but in general they are very easy. Depending on the temp of your hot glue gun, you can even let the kids pull on the hat, press on the pom pom and put on the pipe cleaner. And, don't worry about perfection. I love the homemade yet really cute look that the kids gave it. It shows they did it!

